Set up secure remote access to your connected devices via web, apps, shell (SSH), file transfer (SCP, SFTP) or remote desktop (VNC or RDP). Don't worry about insecure port forwarding, scarce public IPv4 addresses, or complex and inflexible VPNs.
A free account allows you to connect up to 10 devices. Perfect for testing or personal use. Some restrictions apply.
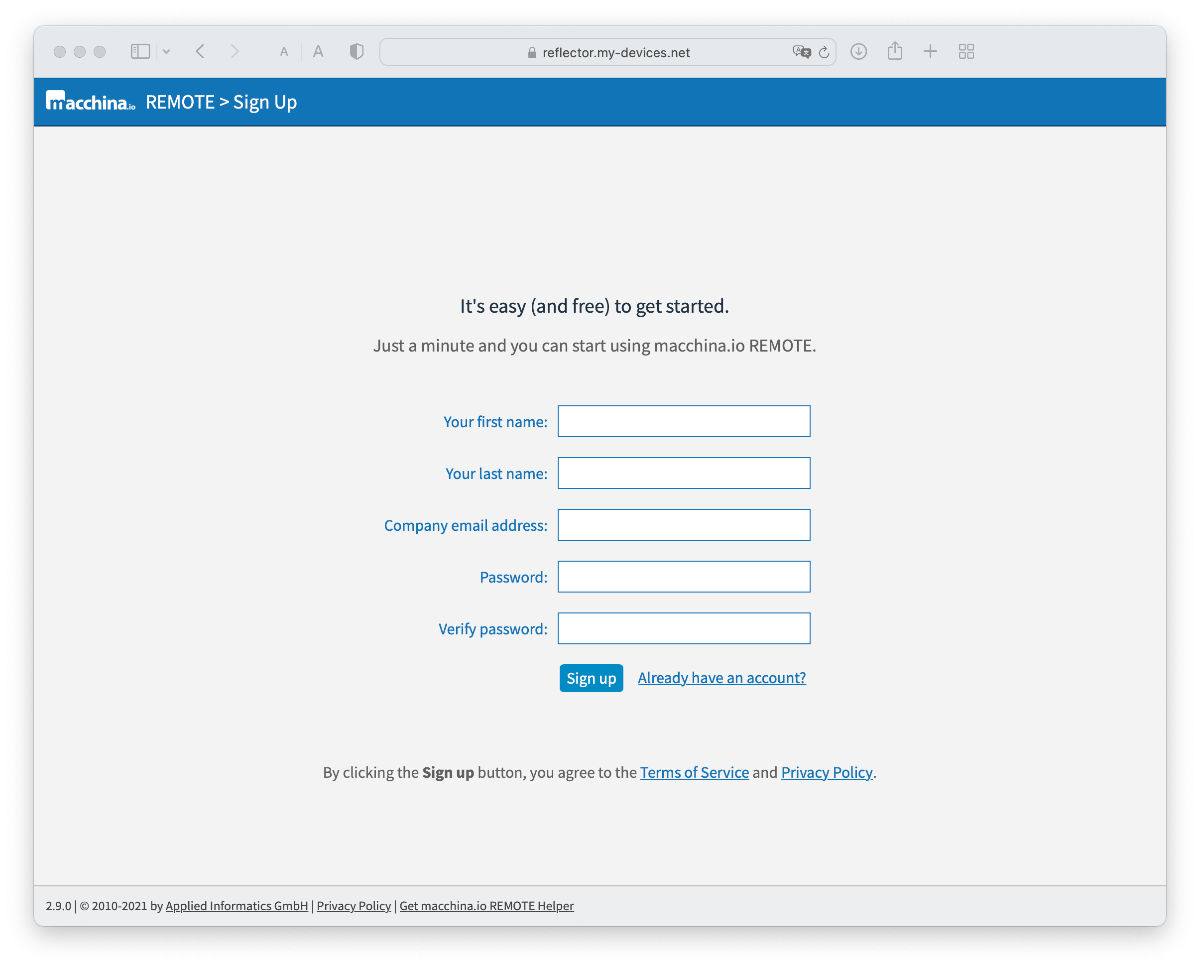
Navigate to our Sign Up page and register with your first and last names and your email address. No Credit Card required. Chose your password and enter it twice to confirm and click the Sign up button.
You will receive an email containing a link to confirm your email address and activate your new account.
Need support getting started or connecting your device? We're ready to help!
Check your email for the "Activate your new macchina.io REMOTE account at remote.macchina.io" message.
Open the activation link in the email to confirm your email address.
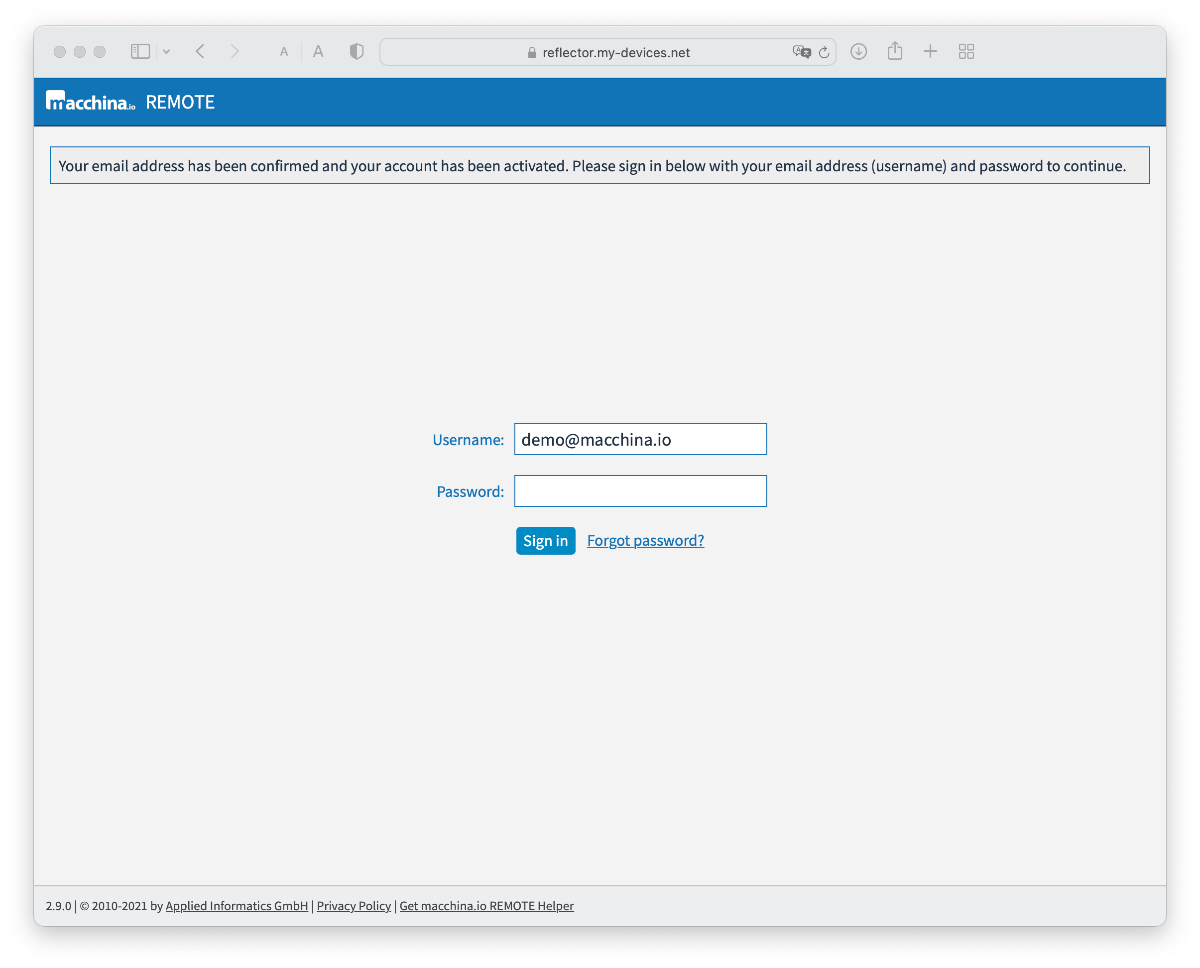
This will confirm your email address and activate your account. Note that your account will remain locked (and you won't be able to sign in) until you have confirmed your email address.
Then sign in with your registered email address (username) and password.
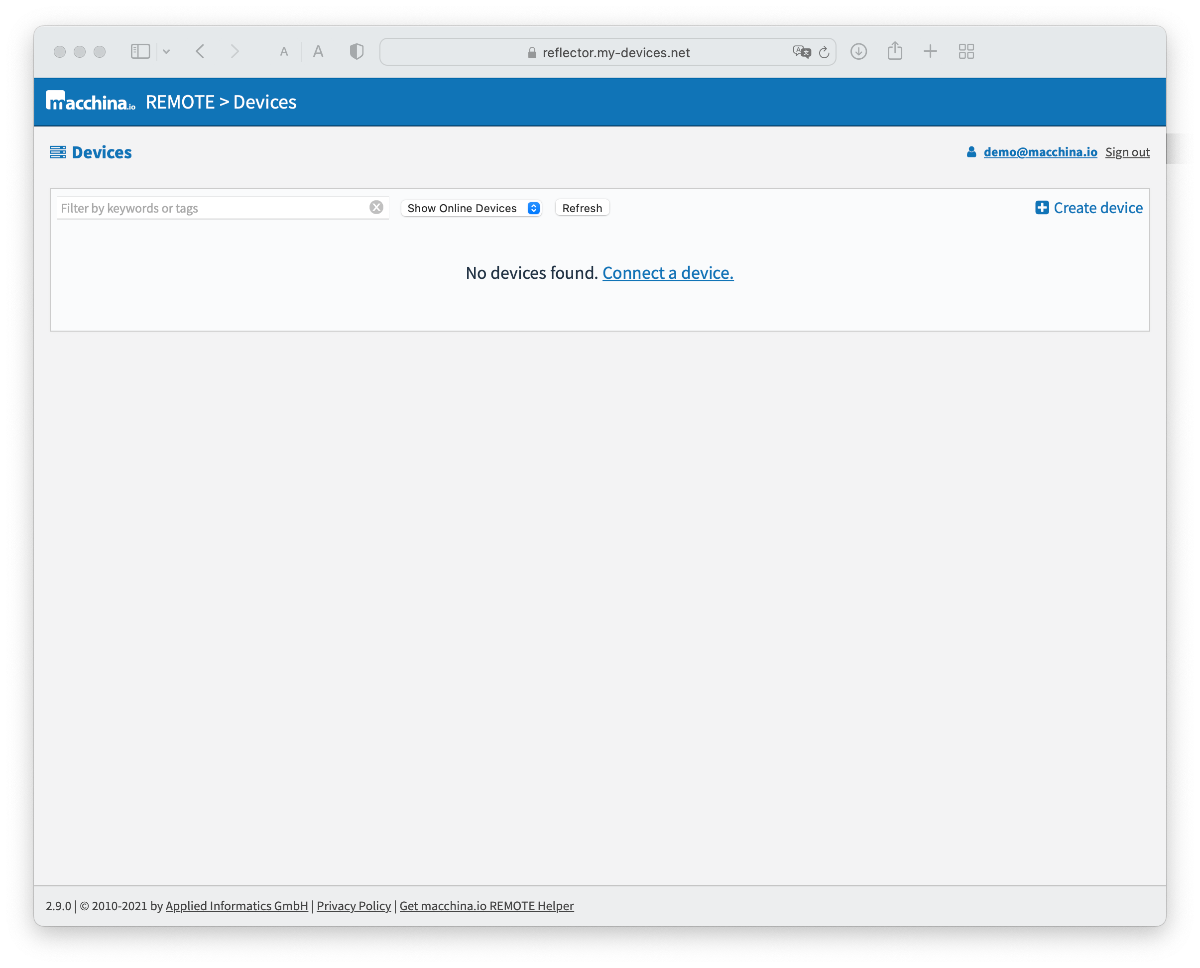
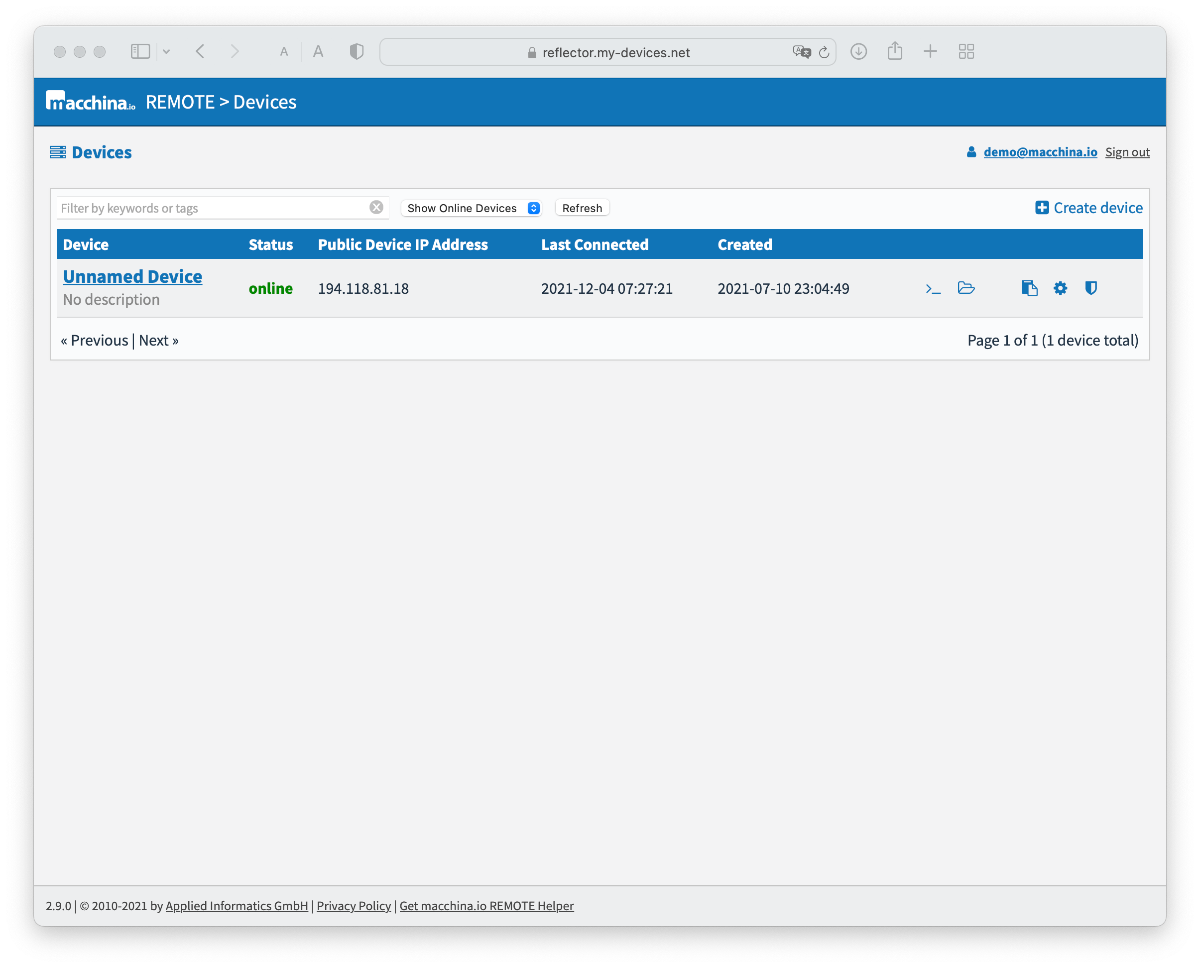
The macchina.io REMOTE Devices page is the main point of interaction with macchina.io REMOTE. It will show a list of devices available to you.
Right now the list is empty as you haven't connected any devices yet.
You will connect your first device next.
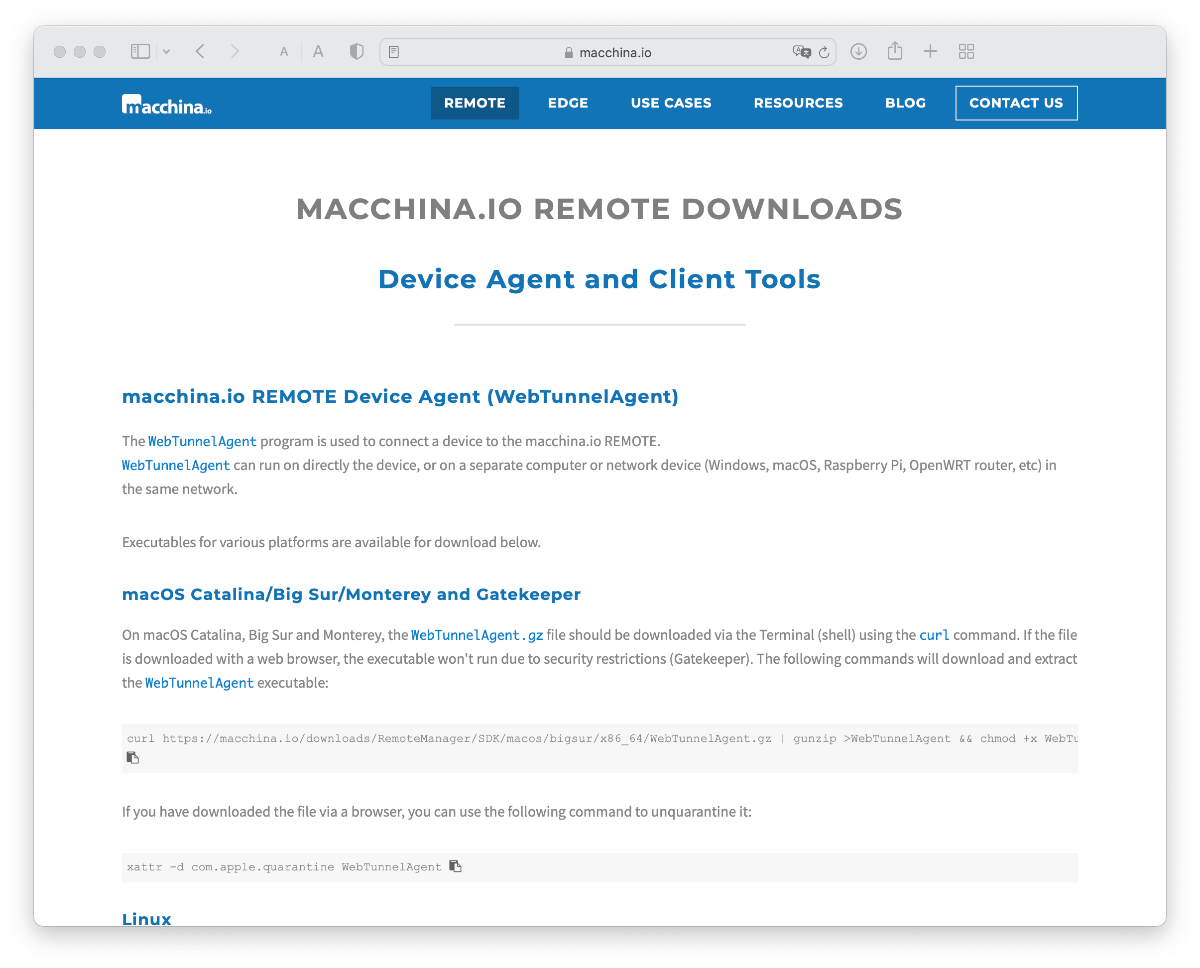
In order to connect a device to macchina.io REMOTE, a program (the macchina.io REMOTE Device Agent, also known as WebTunnelAgent) needs to be installed on your device. For initial testing, the agent can also be installed on a Windows, Linux or macOS machine in the same local network as the device.
Download one of the pre-built agent executables for your platform, run the Docker image, or get the macchina.io REMOTE SDK source code. As a first step, we recommend running a pre-built WebTunnelAgent or the Docker container on your desktop system or a Raspberry Pi (video tutorial ).
The Docker image comes with a generic configuration file that allows the essential settings to be configured via environment variables. The steps for configuring and running the container are different than the ones shown here for the standalone executable. See the README for more information or watch the video tutorial .
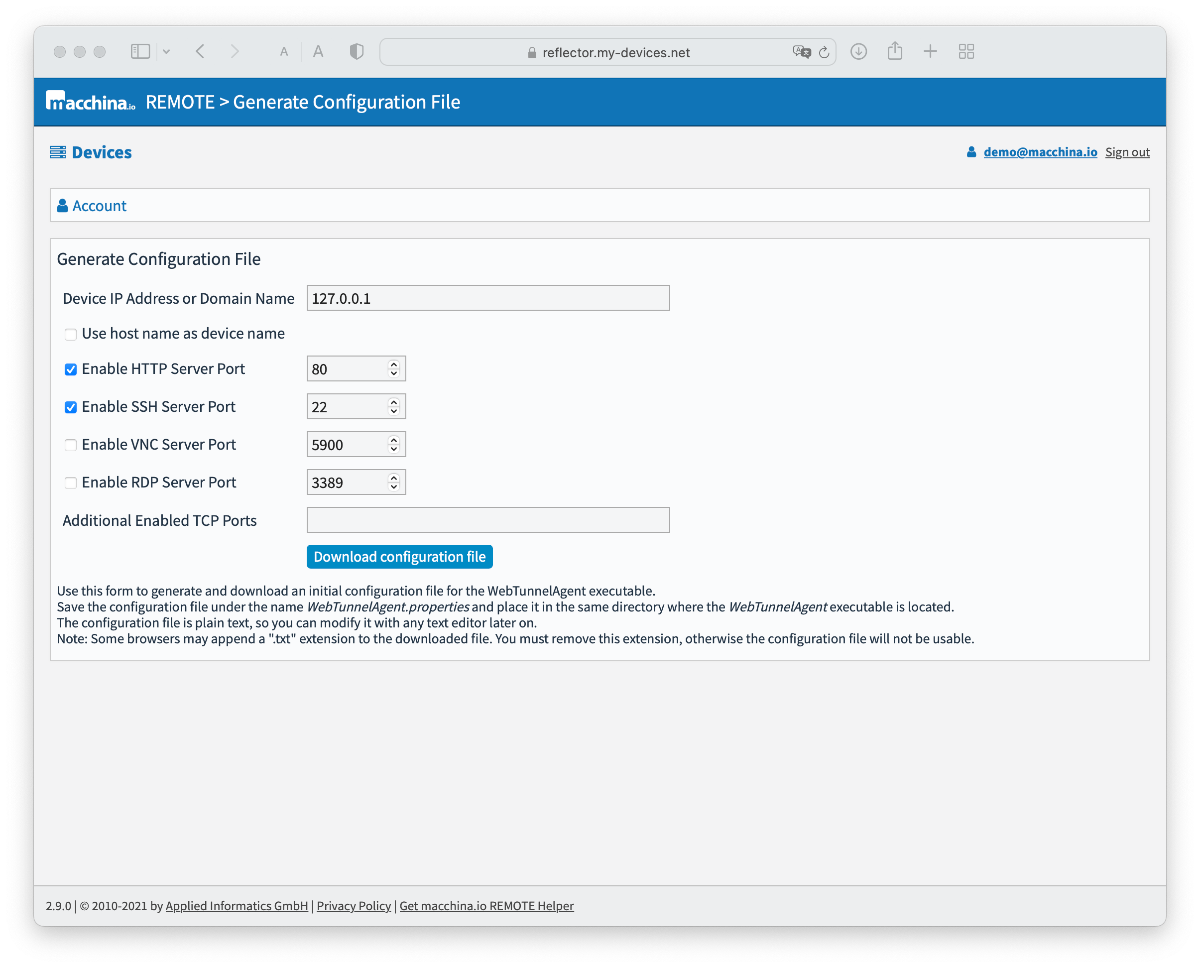
The Device Agent (WebTunnelAgent) needs a configuration file named WebTunnelAgent.properties to work. The easiest way to obtain the configuration file is to generate and download it from the macchina.io REMOTE Account page.
In macchina.io REMOTE, go to the Account page by clicking the User icon or email address in the Devices page, then click the Generate configuration file link at the top. Enter the IP address or host name of your target device (or leave the default 127.0.0.1 if the agent is running on your target device). Check and modify, if necessary, the ports you want to forward. You can enable additional ports (such as 502 for Modbus TCP) as well.
When ready, click Download configuration file to download your configuration file.
Move the WebTunnelAgent.properties configuration file downloaded in the previous
step to the same directory the WebTunnelAgent executable is located in.
Make sure that the configuration file is named WebTunnelAgent.properties and
rename it if necessary.
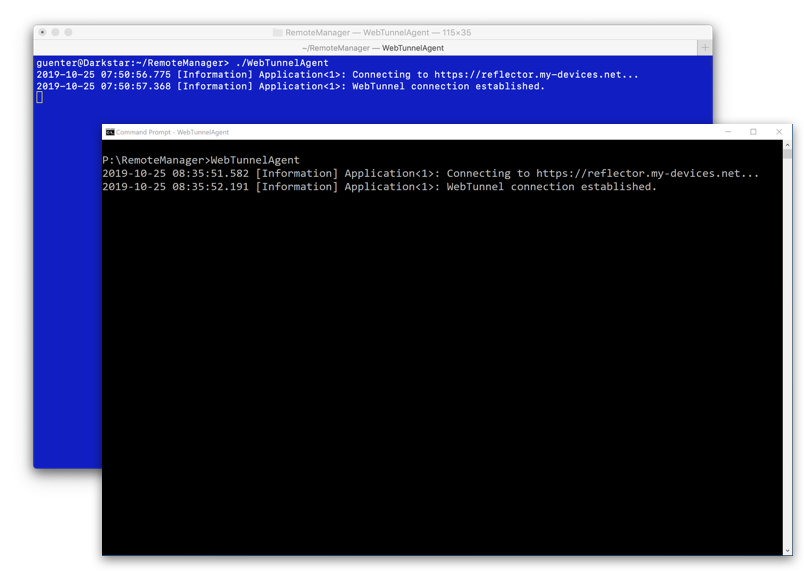
Then start the agent, either by double-clicking the WebTunnelAgent
executable on Windows, or by running it from a command shell.
If you cannot copy the configuration file to the same directory the
executable is in, you can use the --config option
to pass the location of the configuration file to WebTunnelAgent:
WebTunnelAgent --config=/path/to/WebTunnelAgent.properties
On Windows, instead use:
WebTunnelAgent /config=C:\path\to\WebTunnelAgent.properties
WebTunnelAgent will connect to the macchina.io REMOTE server, and you should see the device appear on the Devices page as "Unnamed Device", after refreshing the Devices page.
See the documentation for details on installing, configuring and running WebTunnelAgent.
Congratulations! You have just connected your first device to macchina.io REMOTE. You can now securely access your device from everywhere with an internet connection via web browser, SSH, SFTP, VNC or RDP.
macchina.io EDGE already contains the macchina.io REMOTE agent, so it only must be enabled in the global configuration file.
Open the macchina.properties in a text editor of your choice. Find the webtunnel.enable property and change its value to true. Then find the webtunnel.domain property and set it to your Domain ID from the macchina.io REMOTE Account page. Restart macchina and macchina.io EDGE web interface will be accessible through macchina.io REMOTE.
#
# WebTunnel
#
webtunnel.enable = true
webtunnel.reflectorURI = https://remote.macchina.io
webtunnel.deviceName = ${system.nodeName}
webtunnel.domain = c60a3001-05ae-4dd6-a4fa-2ab692a1123f
webtunnel.deviceId = 3100ef24-e395-4726-9951-${system.nodeId}
webtunnel.username = ${webtunnel.deviceId}@${webtunnel.domain}
webtunnel.password =